| Step | | Procedure & Parts & Tools |
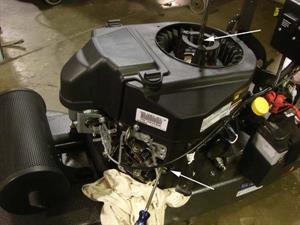
| 1 |
|
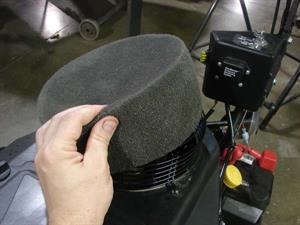
Pull the bonnet off the top
of the engine.
|
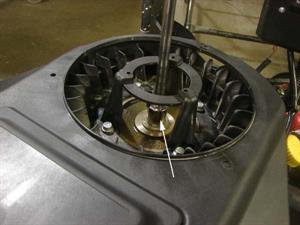
| 2 |
|
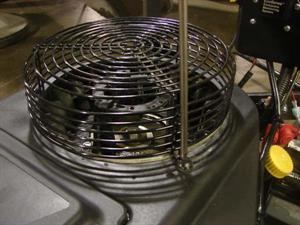
Using a phillips
screwdriver, remove the 3
screws holding the cage.
Remove the cage to access
the bolt on top of the
flywheel.
| Screwdriver-phillips |

|
|
| 3 |
|
Pull the spark plug boots
off the spark plugs.
|
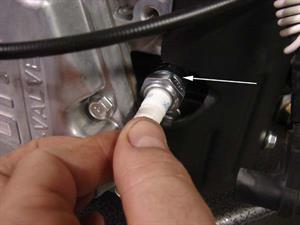
| 4 |
|
Using a 13/16 inch deep
socket, remove both spark
plugs.
| Ratchet-Deep socket standard 13/16 in |

|
|
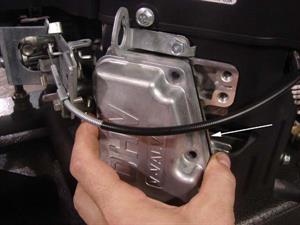
| 5 |
|
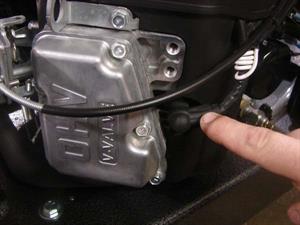
Using a 10mm standard socket, remove the valve cover by removing the 5 bolts. This exposes the top of the cylinder head and both valves. Place a rag under the valve cover to catch the oil. The cover gasket may break so have 2 new gaskets ready.
| Ratchet-Deep socket metric 10mm |
|
|
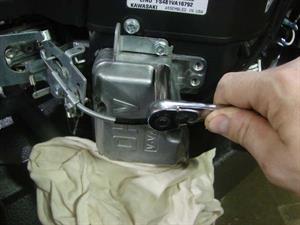
| 6 |
|
Place the 11/16 inch socket on the top nut with a long extension and turn the engine clockwise.
| Ratchet-Deep socket standard 11/16 in |

|
|
| 7 |
|
Turn the engine so that
the exhaust (bottom) valve
goes in and out. Continue
turning until the intake (top)
valve goes in and out.
Insert a long Phillips
screwdriver into the spark
plug hole until you feel it stop
on the top piston. Turn the
engine again slowly until the
screwdriver stops moving
outward.
Stop turning the engine.
| Screwdriver-phillips |
|
|
| 8 |
|
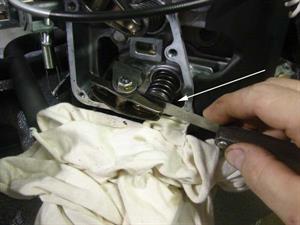
Insert a .006 inch feeler
gauge between the top of the
spring and the rocker arm on
one of the valves.
If the feeler gauge goes in
and out freely, then the valve
clearance is okay and you
can move onto the other
valve.
If the gauge is tight or you
have to force it in, then you
need to adjust the valve
clearance. See steps 9-12 to
adjust this.
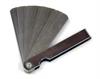
| Feeler gauge-metric .006in / 0.152mm |
|
|
| 9 |
|
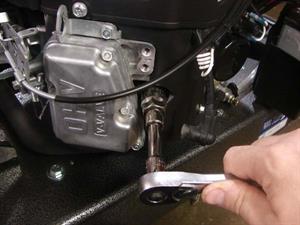
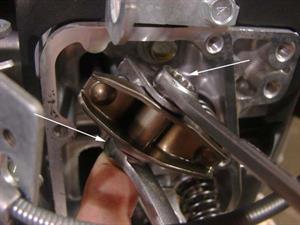
Locate the bolt and nut on
the rocker arm.
Using 2 10mm wrenches, 1
on the head of the bolt and
the other on the nut.
Hold the head of the bolt
while slightly loosening the
nut.
| Wrench-metric 10mm |

|
|
| 10 |
|
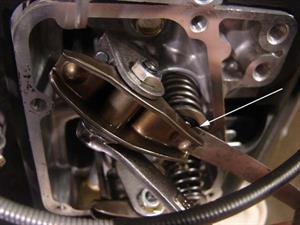
Once the nut is
loosened, use the 10mm
wrench to turn the head of the
bolt clockwise while at the
same time inserting the feeler
gauge between the top of the
spring and the rocker arm.
When the feeler gauge goes
in and out freely, stop moving
the bolt head. Hold bolt head
in place while tightening the
nut. Recheck valve clearance
w/ gauge and repeat process
if not correct.
| Wrench-metric 10mm |
|
|
| 11 |
|
Re-install the valve cover
with a new gasket if needed.
Hand tighten the valve cover
bolts.
Repeat steps 5-12 to set the other cylinder valves.
|
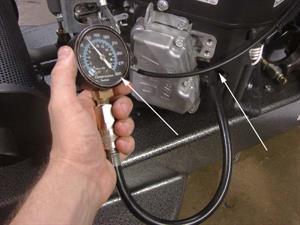
| 13 |
|
Using a compression tester, perform a compression test on both cylinders after both sets of valves have been set. Compression should be close to or at 120PSI. If the compression is 90PSI or below after setting the valves there may be a problem with the cylinder head.
| Compression Tester |
|
|
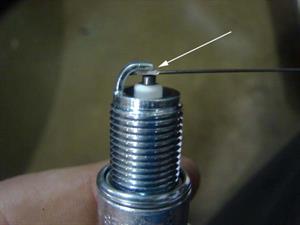
| 14 |
|
Gap the spark plugs with
a .025 inch feeler gauge and
lubricate the threads on the
plug before installation.
Install new resistor type
spark plugs if the engine is in
need of service.
| Feeler gauge-metric 0.25mm |

|
|
| 15 |
|
Reinstall the spark plugs
by hand to get them started,
then tighten with ratchet
socket.
Reverse steps 1-3 to reassemble the machine.
| Ratchet-Socket standard 13/16 in |

|
|