| Step | | Procedure & Parts & Tools |
| 1 |
|
Turn the machine off and disconnect batteries.
|
| 2 |
|
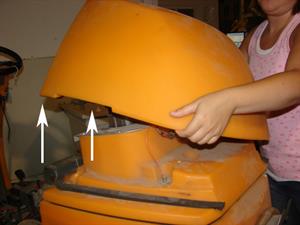
Raise the tank cover.
|
| 3 |
|
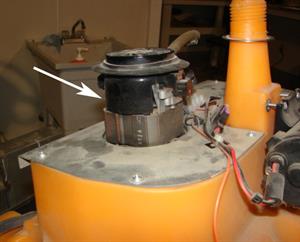
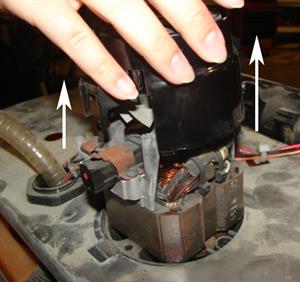
The vac motor is now visible.
|
| 4 |
|
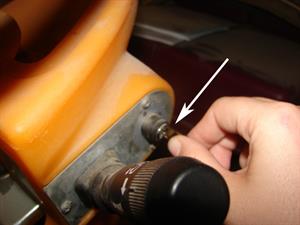
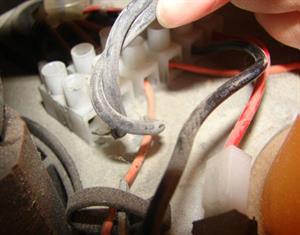
Using a small flat head screwdriver, loosen the 2 screws. Note: Only loosen the 2 screws in the white connector that runs from the vac motor.
| Screwdriver-flat tip |

|
|
| 5 |
|
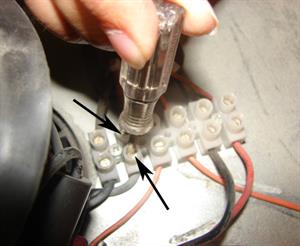
Pull the 2 black wires to remove them from the white connector.
|
| 6 |
|
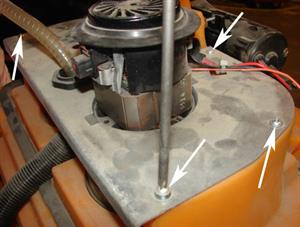
Using a Phillips screwdriver, remove the 6 screws holding the vac motor plate.
| Screwdriver-phillips |

|
|
| 7 |
|
Remove the rubber gasket from the bottom of the vac motor.
|
| 8 |
|
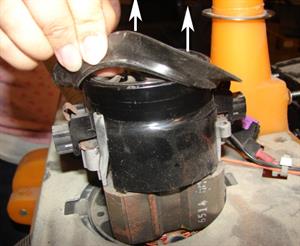
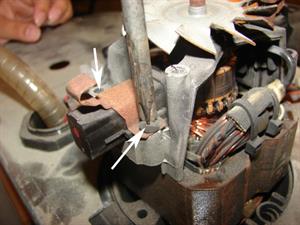
Using any screwdriver, pry back the carbon brush clips.
| Screwdriver-flat tip |
|
|
| 9 |
|
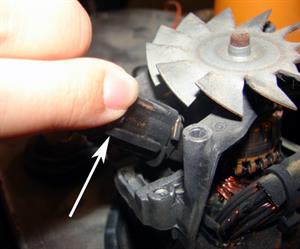
Pull the black plastic cap from the vac motor.
|
| 10 |
|
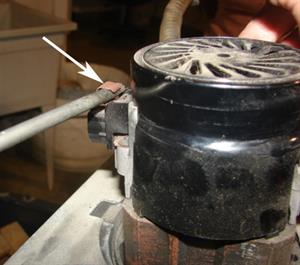
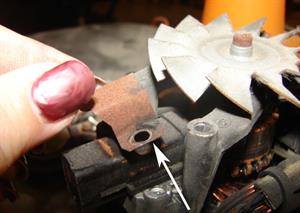
Using a Phillips screwdriver, remove the 2 screws holding the carbon brush bracket.
| Screwdriver-phillips |
|
|
| 11 |
|
Pull the carbon brush bracket to remove.
|
| 12 |
|
Pull up on the carbon brush to loosen it. Note: You only need to loosen 1 carbon brush to remove the vac motor plate.
|
| 13 |

|
Remove the vac motor plate.
|
| 14 |

|
The vac motor is now free from the machine. Reverse process to install a new vac motor.
|