| Step | | Procedure & Parts & Tools |
| 1 |
|
Open Tank Lid
|
| 2 |
|
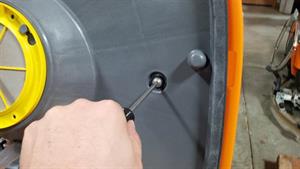
Using T-30 Torx, Loosen 2 screws on rubber buffers. Complete removal of screws is not needed.
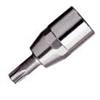
| Torx T30 |
|
|
| 3 |
|
Once rubber buffers of loose, separate the lower plate from tank lid
|
| 4 |
|
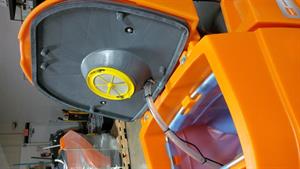
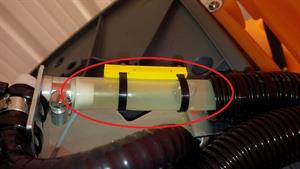
Locate the clear hose above Yellow sensor. Hose needs to be clear and dry for sensor calibration. IF HOSE IS STAINED FROM DETERGENT OR MILDEW REPLACE HOSE. 192-0399, 30 inches is the full length.
|
| 5 |
|
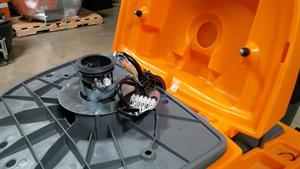
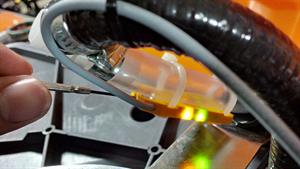
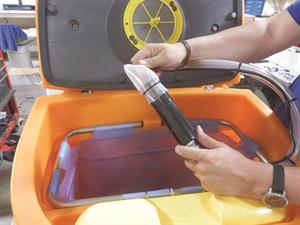
Locate the yellow sensor next to vac motor, with small flathead screwdriver re-calibrate.
• Switch ON the machine,
turn the adjustment screw clockwise until the orange LED lights up (turns ON).
• Turn the adjustment screw counter-clockwise.
• As soon as the orange LED turns OFF, turn 1.5 revolutions (540°) further.
| Screwdriver-flat tip |

|
|
| 6 |
|
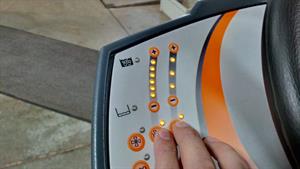
Turn the Solution and Brush systems on, run machine for about 30 seconds to get the solution flowing beyond the 10 second Priming Phase. Solution Empty Light should turn off if system is working properly. If not continue steps.
|
| 6 |
|
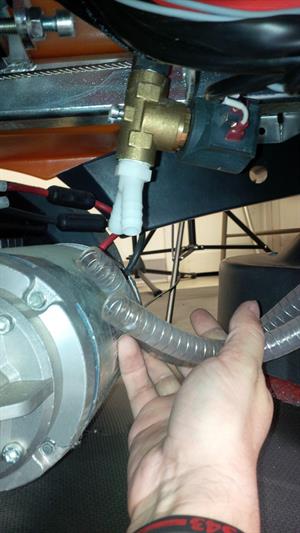
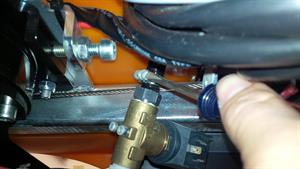
If light still fails to shut off...check that the Solution Solenoid Valve has flow past it. Underneath the machine, behind the brush deck...remove the hoses coming off the solenoid. Activate the solution system (with assistance) and verify solution flows out.
|
| 7 |
|
If no flow, remove top hose from solenoid (or remove whole solenoid) and run again. If solution flows, issue is the solenoid. If no flow, issue is with the pump.
|
| 8 |
|
If suspecting pump, first make sure the filter is clean. Locate filter at the end of the pump, clean if necessary.
|
| 9 |
|
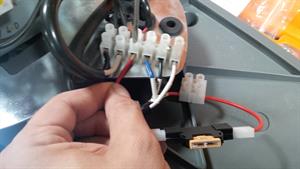
If suspecting a faulty pump, also check the fuse at the top of the tank, by the vac motor.
|
| 10 |

|
If filter is clean, Check the power supply to both the pump and the solenoid valve. Follow the RG #50577 "Check the Drive Board Voltage for the Primary Components" If voltages are correct and the component is not working, replace the component. If Voltages are incorrect replace the Power Board.
|